Contents
Overview
Users can rescue their important data in critical conditions like VPS failure or file system crash. In this mode user enters in the new "Rescue VPS", which is predefined OS template, through which data can be backed up from a crashed VPS. By entering in Rescue Mode users will have access to other VPS LVM and mount them to get the data.
Supported Virtualization Technique
Virtualizor only supports Rescue Mode in KVM, XEN-HVM and XEN-PV.
How to Enable Rescue Mode
Users can enable Rescue Mode in any VPS by switching on Rescue Mode option available in Enduser Panel.
Follow the Screenshot Below.
Step 1: You will find Rescue Mode button in Manage VPS page.
Step 2 : It will ask you to enter the root password (PS : This login credential is used to enter in Rescue VPS)
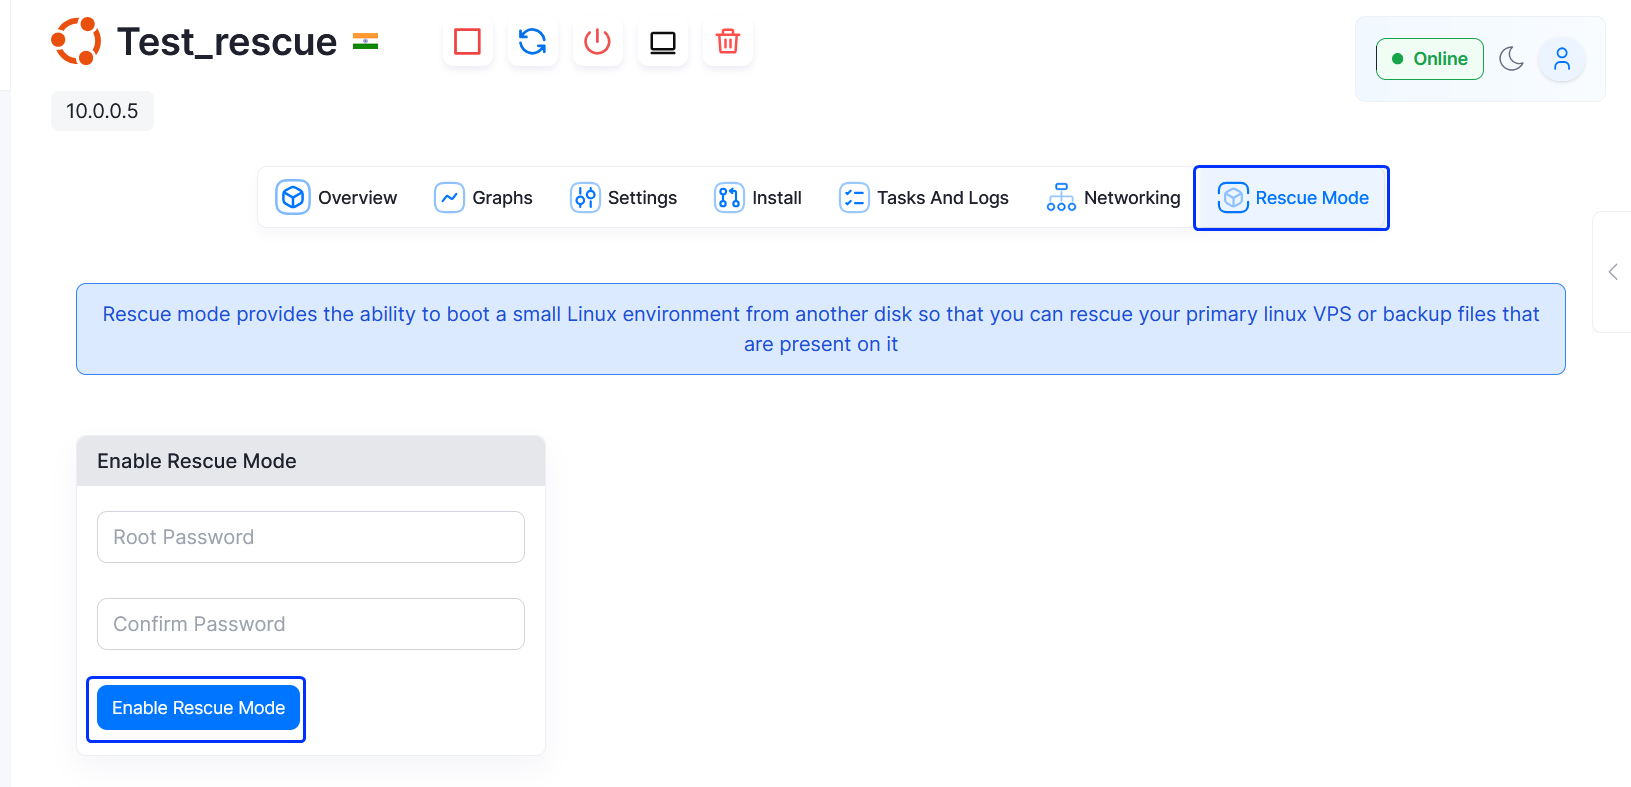
NOTE : If you are using Rescue Mode for the first time, it will take 3 to 5 minutes to enable.
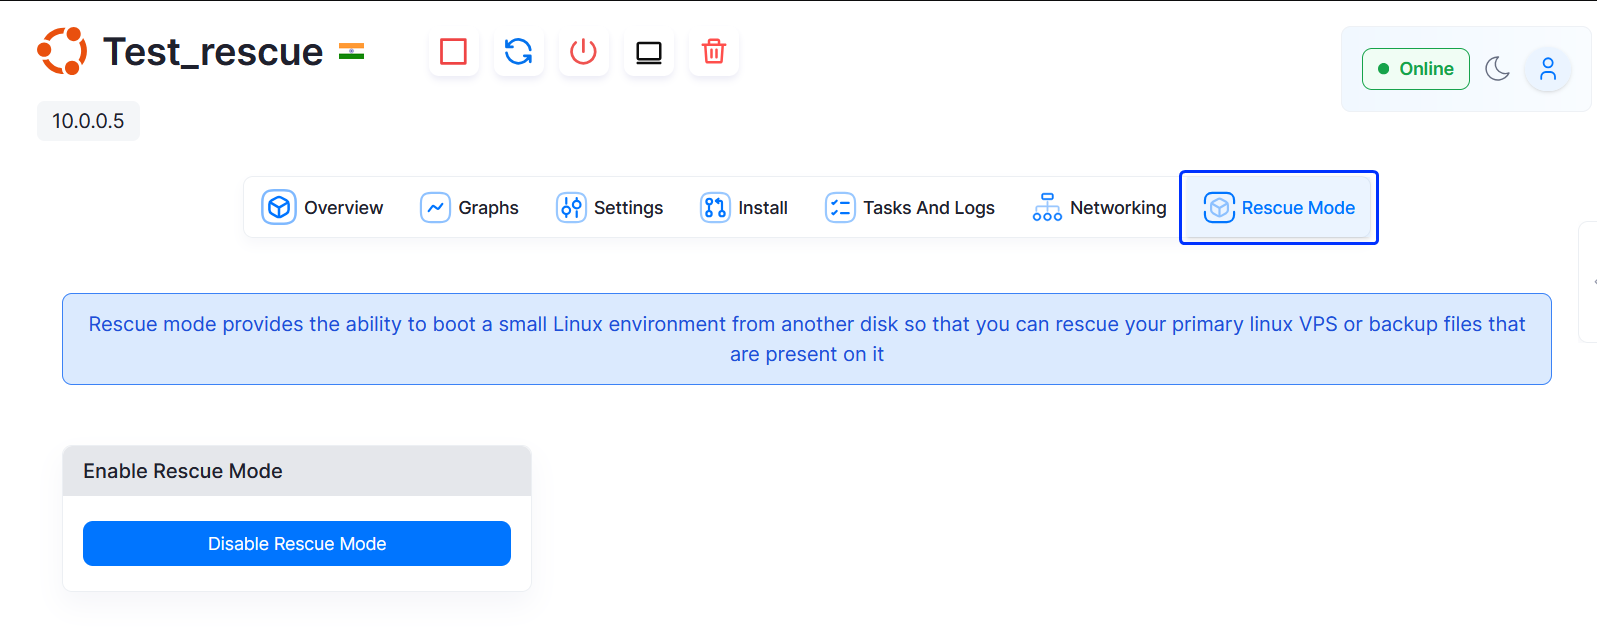
You have successfully enabled the Rescue Mode.
Enter into Rescue VPS
SSH to the VPS in which you have enabled the Rescue Mode. You will find the predefined Debian based Rescue VPS. Now you can perform the operation you want on your VPS. You can mount your original VPS and get the data you want.
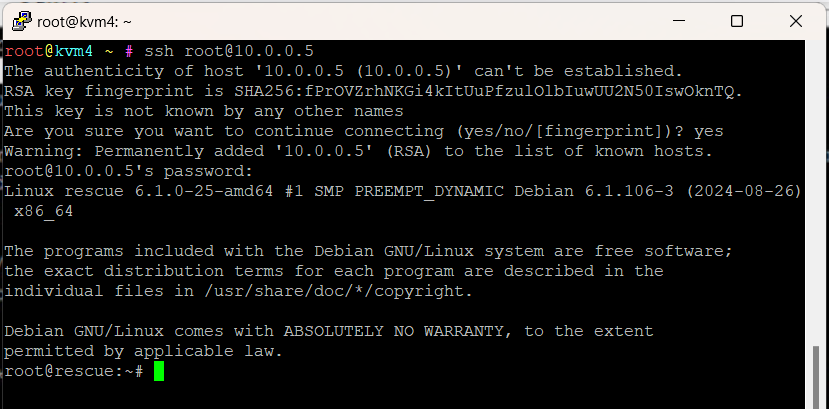
For LXC the original VPS disk will be mounted on /mnt